Resource Booking by an Employee
As an employee, to book a room, you need to navigate to the Property booking item in the main menu on the left-hand side. You will see 2 tabs: First of them is Reservations, where you will see a list of resources assigned to yourself. Second of them is called Book, where all resources are displayed. As an employee, you can book any of them as long as they are not reserved for the same time. You can check this by using the “Available from” field located in the upper-right corner of the Book tab. It lets you define the starting date and time from which available resources will be displayed in the list below. A resource configured for daily bookings will be occupied for the entire day, whereas a resource configured for minutes will be shown as available outside its booked hours.
Booking
Expand the group and select the resource you are interested in. Click the "Book" button.
Daily Type
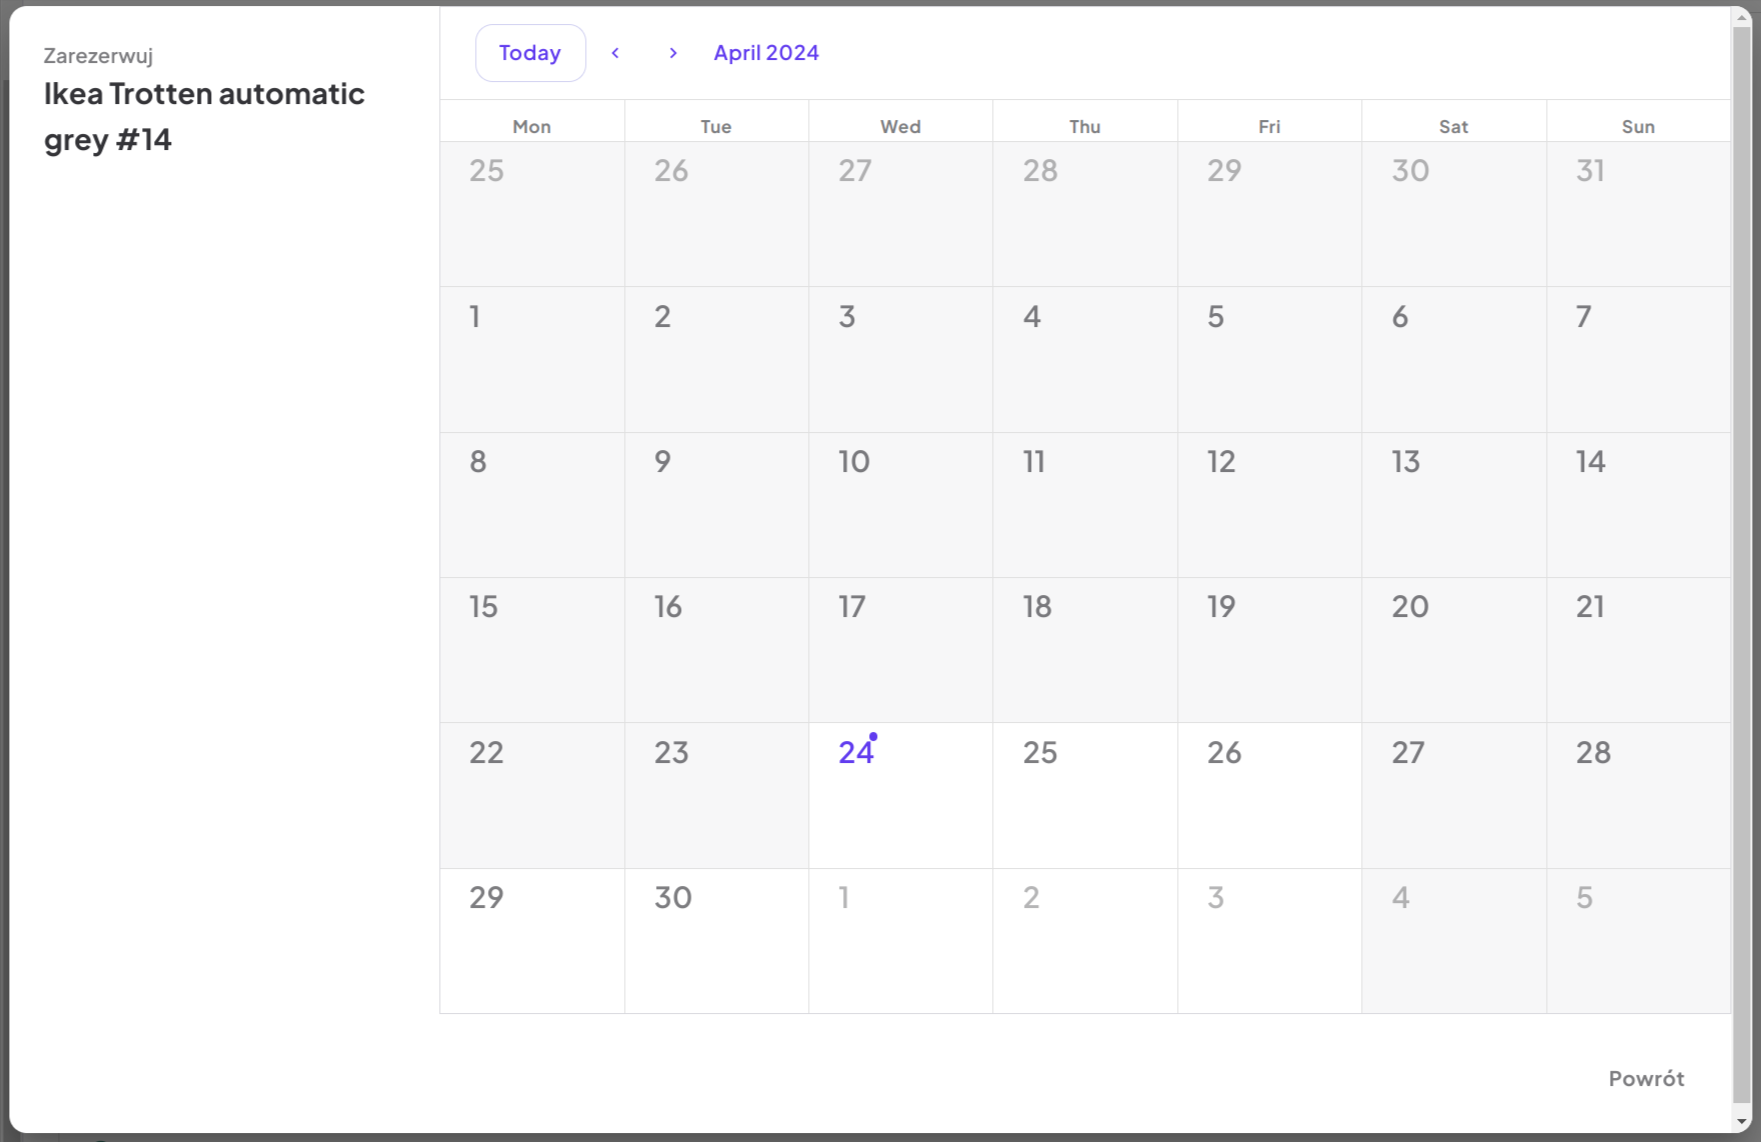
A window with a calendar view showing the full month will open, indicating past and current days. To book a resource, select an available period on the calendar and use drag and drop to mark the days you are interested in. For example, to select the days from the 5th to the 9th, click on the 5th day of the month and drag to the 9th while holding down the mouse button. After this operation, confirm the booking by clicking the save icon or cancel it by clicking the cross. Additionally, below the calendar, you’ll find the Reservation from/to fields. These fields are prefilled based on the period you selected on the calendar. You can use them to manually adjust the reservation—for example, to extend it into the next month. This kind of adjustment isn't possible via drag-and-drop, but it can be done through manual input in these fields.

Minutes Type
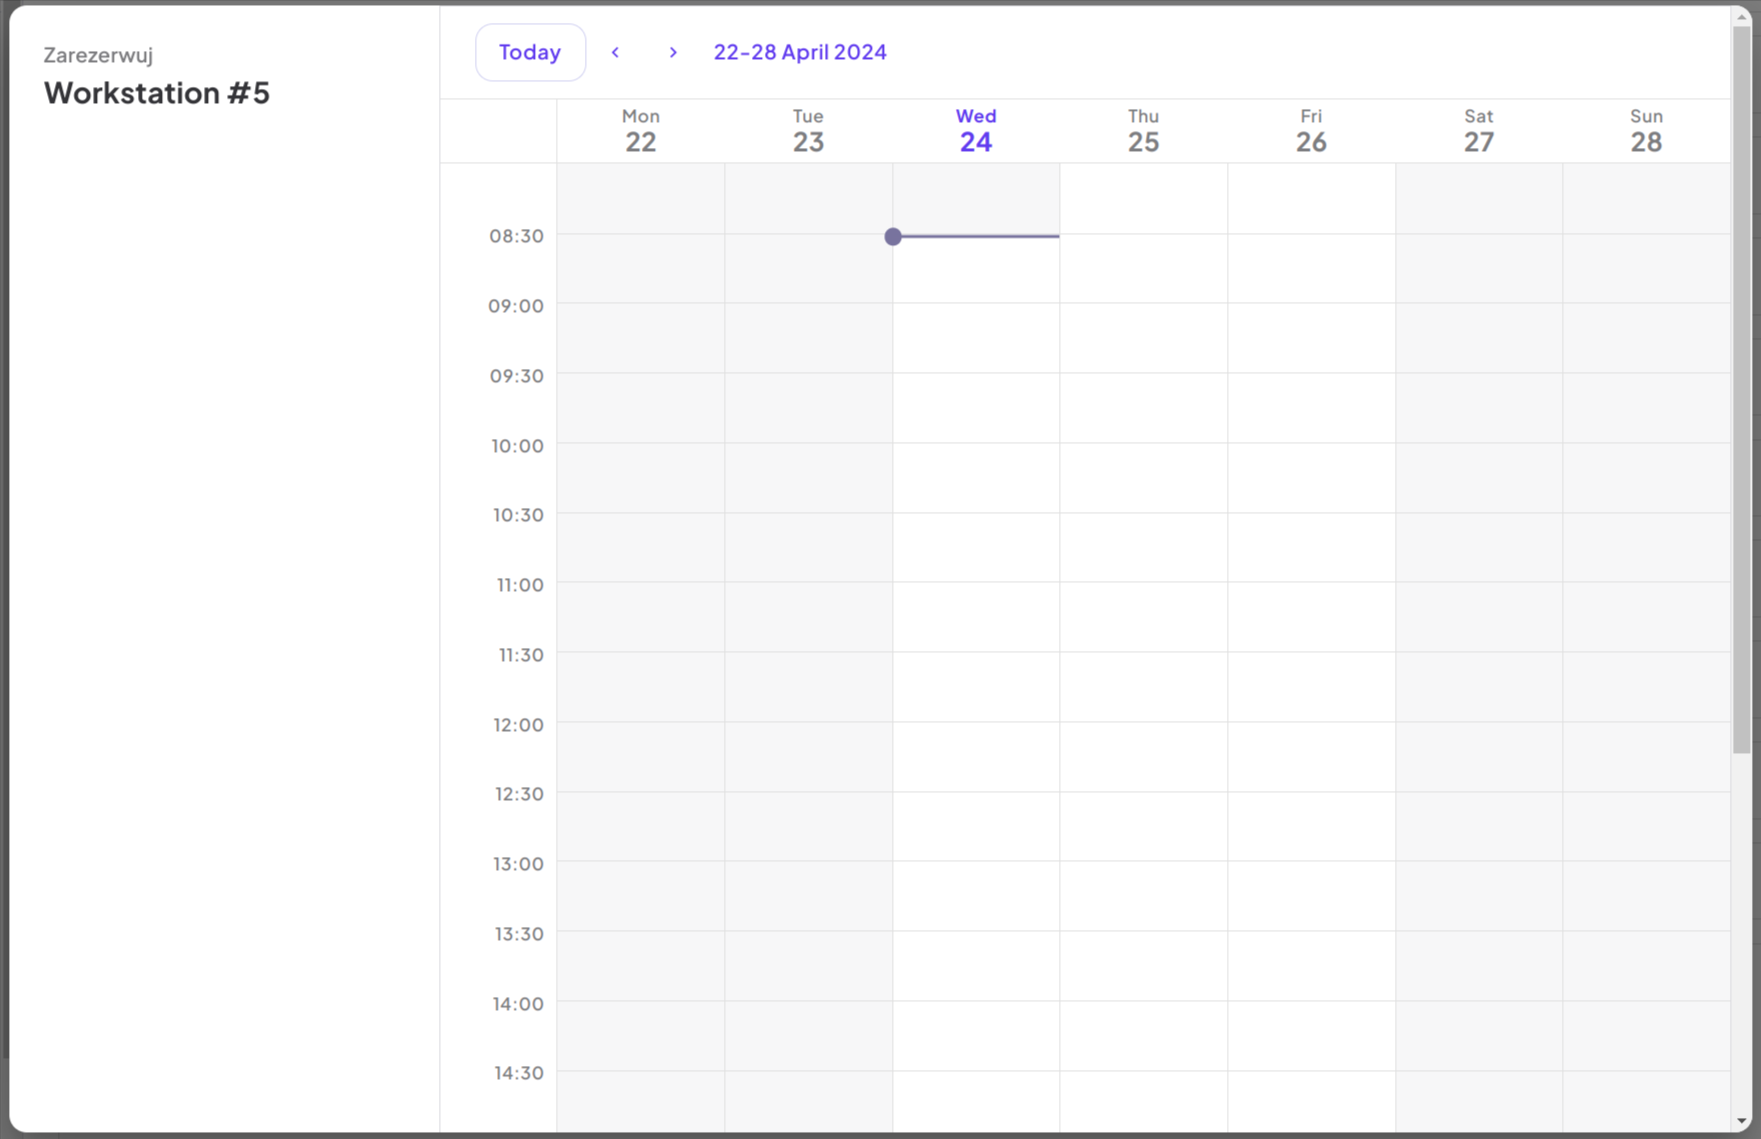
A window with a calendar view showing the current week's days will open. To book a resource, such as a room from 10:00 to 10:45, find an available slot and use drag and drop to select the desired time period by clicking and dragging. After this operation, confirm by clicking the save icon, or discard the booking by clicking the cross. If you need more precise control over the reservation time than what’s possible with drag-and-drop, click the clock icon on the booking. This will open a time selection modal, where you can manually enter the start and end time of your reservation.

Permanent Type
Some resources—such as desks—can be assigned permanently to specific users. These are not time-limited reservations like hourly or daily bookings. Instead, the resource remains assigned indefinitely starting from a defined start date.
How to make a Permanent Booking:
1. Find a resource marked as available permanently (you'll see a green dot and a "Book" button).
2. Click the Book button.
3. In the modal window that appears, enter a Permanent rental start date using the calendar picker.
4. Click Book to finalize.
Once booked, the resource will show as “Permanently” reserved and cannot be selected by other users.
Upon confirming the booking, a reservation will be created, and an email notification will be sent to the employee for informational purposes. The reservation will be visible in the "Reservations" tab and in the widget on the dashboard.
Canceling a Reservation
Canceling is possible at any time, provided that the booking period has not ended. In such a case, the reservation remains in the system for statistical purposes. To cancel your reservation, in the main view in the "Reservations" tab, select the reservation, click the x-button, provide a reason, and confirm the cancellation. The cancellation will be confirmed by an email notification.