People & HR

Create an employee in Flowtly

Add new teammates, grant permissions and activate agreements so they can start working in Flowtly right away.

Duration
10 minutes
Level
Beginner
Complete these tutorials first
Flowtly Employees module showing the Add employee dialog

Before you start

Every employee needs a Flowtly profile before they can track work or receive assignments. This tutorial covers the complete flow from capturing contact details to activating the agreement that marks them as onboarded.

You will create the employee record, send the invite, walk through the activation link and finalize the employment agreement so the user appears in the Active tab.

Step-by-step

Complete the flow

7 steps
Step 1

Add the employee record

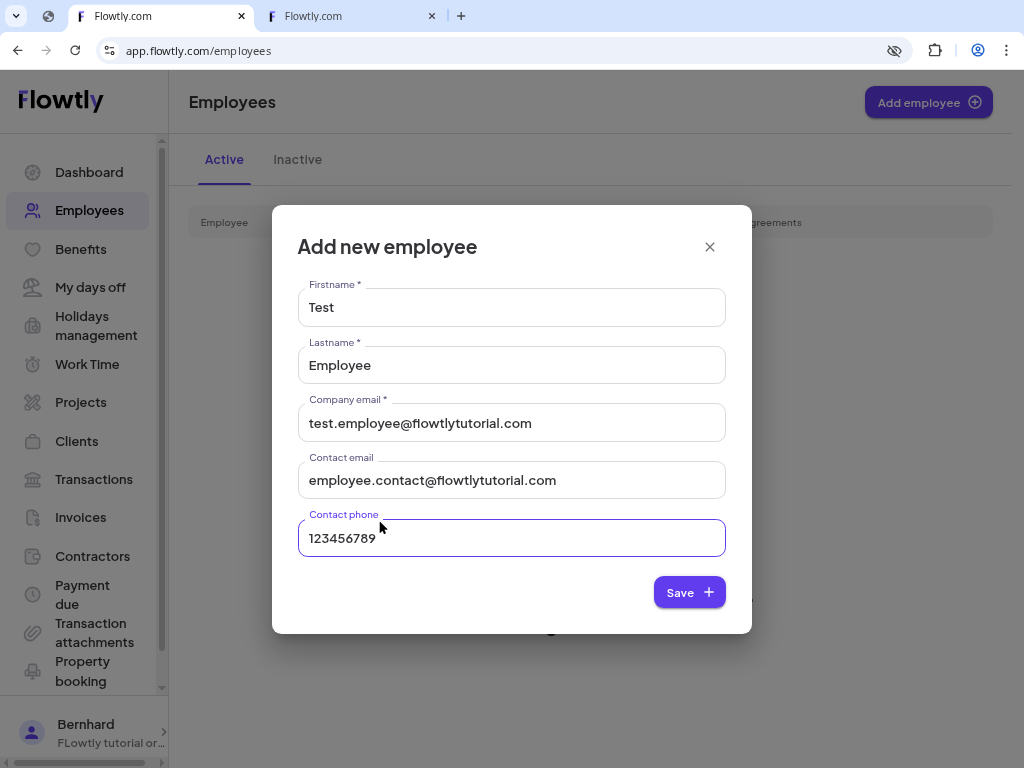
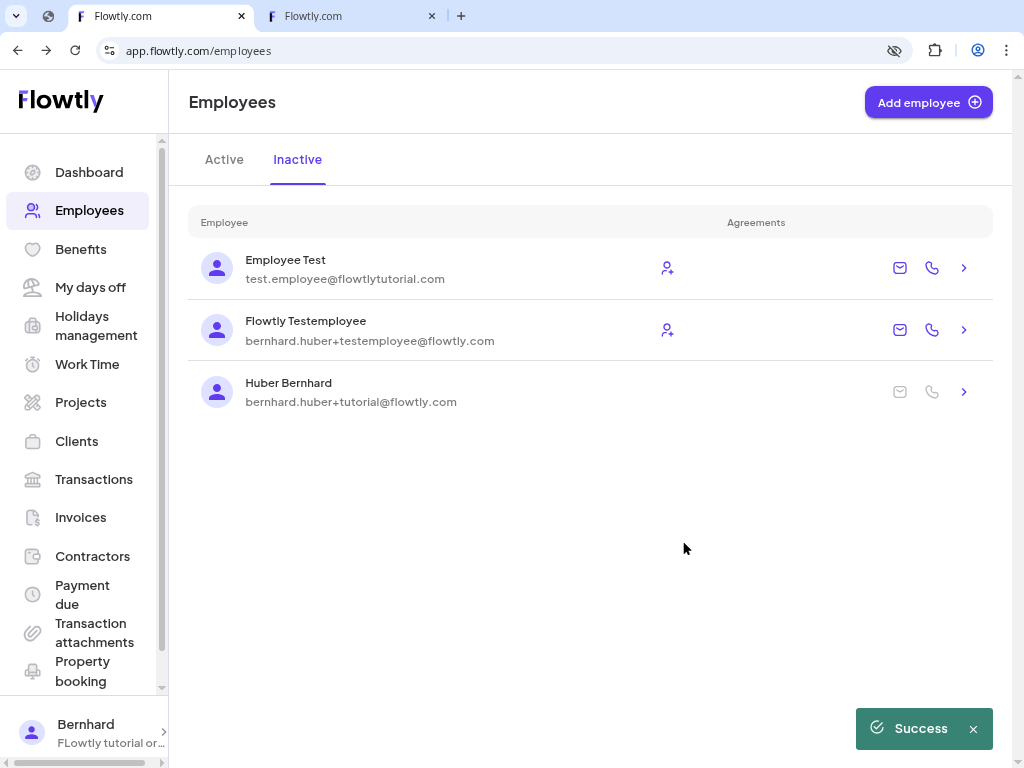
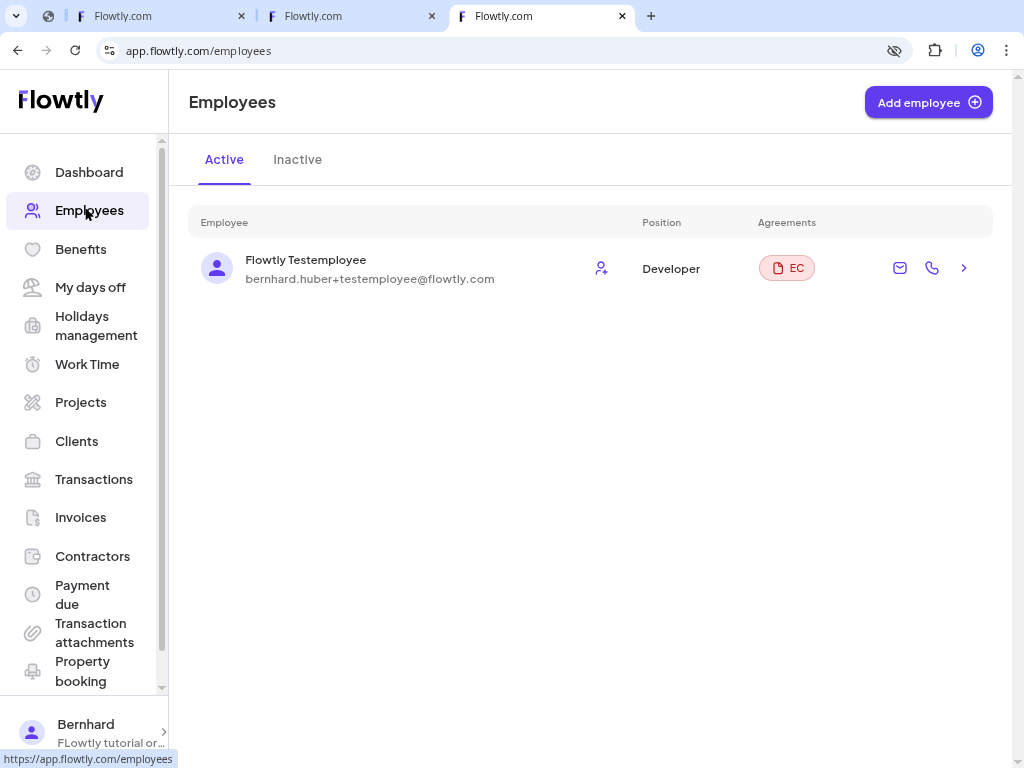
Open Employees, click “Add employee” and fill in the first name, last name, Flowtly email, optional contact email and phone number. Save once the button is enabled.

Tips
  • Use the company email for the login and keep the contact email for personal communication.
Add employee modal showing name, email and phone fields
Step 2

Assign permissions

After saving, go to the Permissions tab on the employee profile, click Edit, pick the right access level (for example Admin) and save.

Tips
  • Grant Admin only to people who manage settings or billing.
Permissions tab with role selection for the employee
Step 3

Send the invitation

Back on the Employees list, click the envelope icon next to the new person, confirm the Invite user modal and send the invitation.

Tips
  • You can resend the invitation from the same icon if the user can’t find the email.
Employees list highlighting the envelope icon and invite modal
Step 4

Complete the activation link

Open the invite in a private window, follow the registration form, set the password and confirm the activation link from the inbox. Then sign back into your admin session.

Tips
  • Use an incognito or separate browser profile so you stay logged into the admin account.
Activation email and registration form shown in a private window
Step 5

Review the profile and open Agreements

The employee still appears under Inactive until an agreement exists. Open their profile and switch to the Agreements tab.

Tips
  • Agreements keep HR and payroll in sync, so create them immediately after the invite.
Inactive employee list highlighting the agreements tab
Employee profile showing the Agreements tab content
Step 6

Add the agreement details

Click “Add agreement”, choose the type, position, variant (for example Employment contract), start date and salary, then save.

Tips
  • Double-check the start date because it drives payroll and access.
Add agreement modal with type and position fields
Agreement form showing start date and salary inputs
Step 7

Confirm the employee is active

After creating the agreement, the success toast appears and the employee moves to the Active tab with an EC badge indicating the employment contract.

Tips
  • Use the EC badge to quickly see who is ready for scheduling, payroll and approvals.
Employees list showing the user in the Active tab with an EC badge

You’re finished!

Your employee now has an active account with the right permissions and agreement, so you can assign work, track time or include them in payroll.

More tutorials

Whatsapp