Billing

Create an Outbound Invoice in Flowtly

Learn how to capture client details, add line items and send the invoice straight from Flowtly without leaving the browser.

Duration
8 minutes
Level
Beginner
Complete these tutorials first
Invoices list in Flowtly with the Add invoice button highlighted

Before you start

You need an active organization, at least one client contact and a connected bank account before creating outbound invoices. This tutorial assumes those pieces are ready and focuses purely on the invoicing workflow.

Each step mirrors the production UI so you can follow along while building your first invoice or refreshing your understanding of the process.

Step-by-step

Complete the flow

7 steps
Step 1

Open Invoices and start a draft

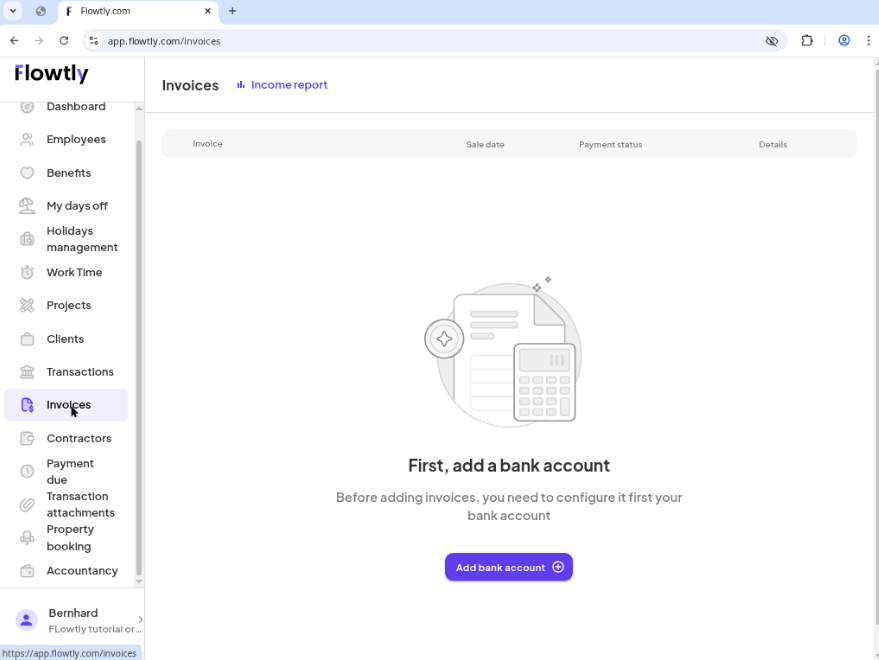
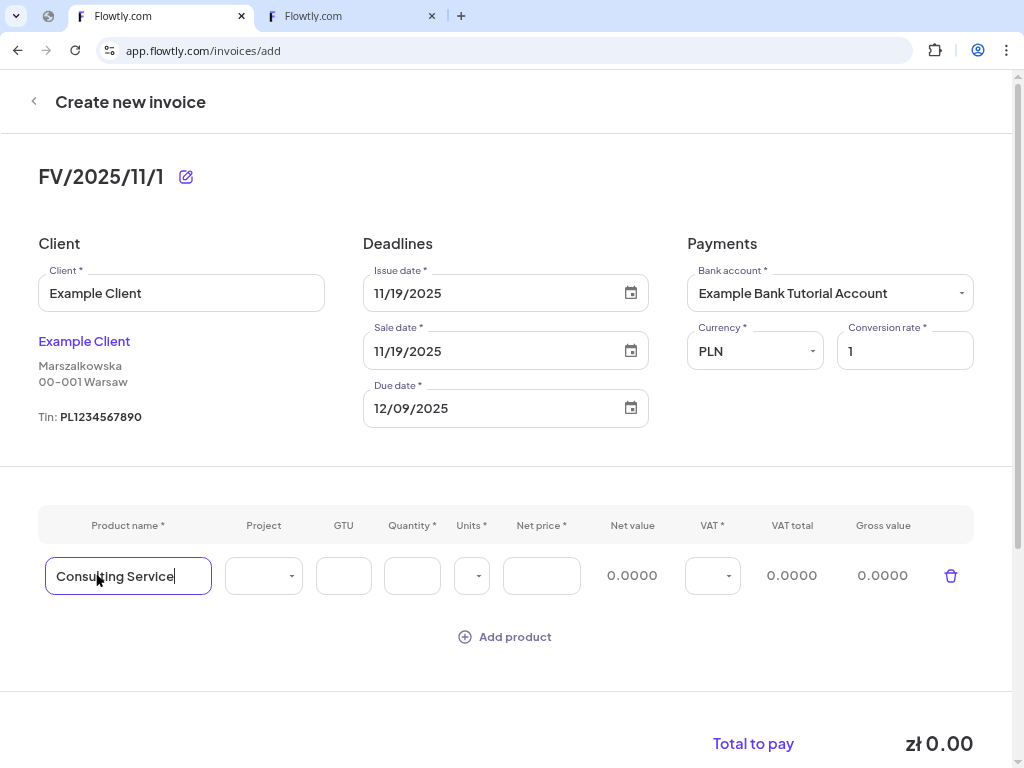
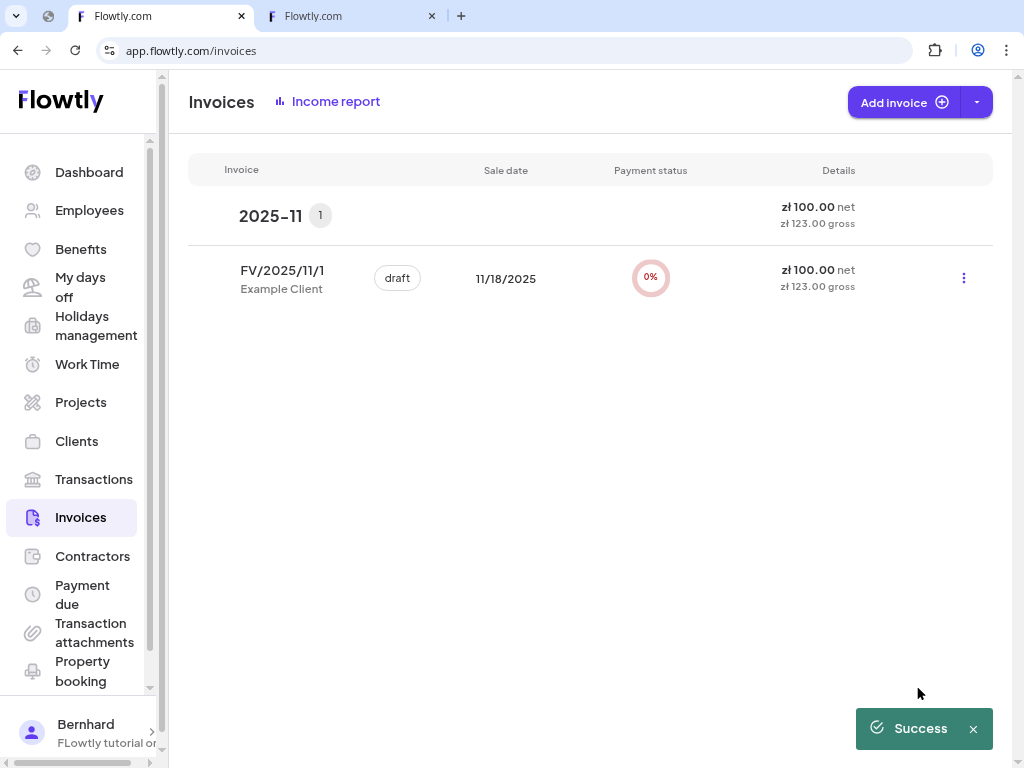
From the Flowtly dashboard choose Invoices in the left navigation and click Add invoice. A new draft opens with the header fields ready to edit.

Tips
  • If the button is disabled make sure you have at least one bank account connected.
Invoices module with the Add invoice button in Flowtly
Step 2

Fill in the invoice header

Select the bank account that should receive the payment, confirm the default currency and conversion rate, and pick the client from your CRM list. Flowtly generates the invoice number and issue date automatically.

Tips
  • Use the notes field to record purchase order numbers or internal references.
Invoice header fields such as bank account, currency and client
Step 3

Add products or services

In the item table describe each service line: name, quantity, unit, net price and tax rate. Flowtly calculates totals instantly and highlights validation errors if a required value is missing.

Tips
  • Use separate lines for split VAT rates so accounting stays accurate.
Product table showing description, quantity, price and VAT columns
Step 4

Review totals and save

Scroll to the summary card. When every mandatory field is completed the Save button turns primary blue. Click it to persist the invoice and move into the edit view.

Tips
  • Use the preview link if you want to double-check net / gross values before saving.
Invoice summary with the Save button enabled
Step 5

Generate the PDF and open the send dialog

From the edit view click “Generate PDF and send to customer”. Flowtly renders the PDF in the background and switches you to the email pane.

Tips
  • You can still download the PDF locally if you need to archive it outside Flowtly.
Invoice actions with the Generate PDF and send to customer option highlighted
Step 6

Prepare the customer email

Enter the recipient’s email address, optional CC contacts and adjust the subject or body copy if needed. Flowtly attaches the freshly generated PDF automatically.

Tips
  • Save your favorite intro text as a snippet so future invoices reuse it.
Email composer with recipient, subject and message fields
Step 7

Send and confirm delivery

Hit “Send invoice”. After sending you land back on the invoice list where a toast message confirms success and the invoice row shows the updated status.

Tips
  • Use filters to quickly verify payment status or resend the document later.
Invoices list showing a sent invoice with success toast

You’re finished!

Your customer now has a professional invoice plus the PDF stored inside Flowtly. Continue by connecting online payments or by enabling automatic reminders so nothing slips through.

More tutorials

Whatsapp