Getting started

Add a Client and Contact in Flowtly

Capture billing details and key contacts so invoices always reach the right person.

Duration
6 minutes
Level
Beginner
Complete these tutorials first
Flowtly Clients module showing the Add client button

Before you start

Clients sit at the center of Flowtly billing workflows. Before issuing invoices, make sure every company has a complete profile with VAT details and defaults.

This tutorial walks you through the full process: adding the client record, confirming the overview, and registering the first contact person.

Step-by-step

Complete the flow

6 steps
Step 1

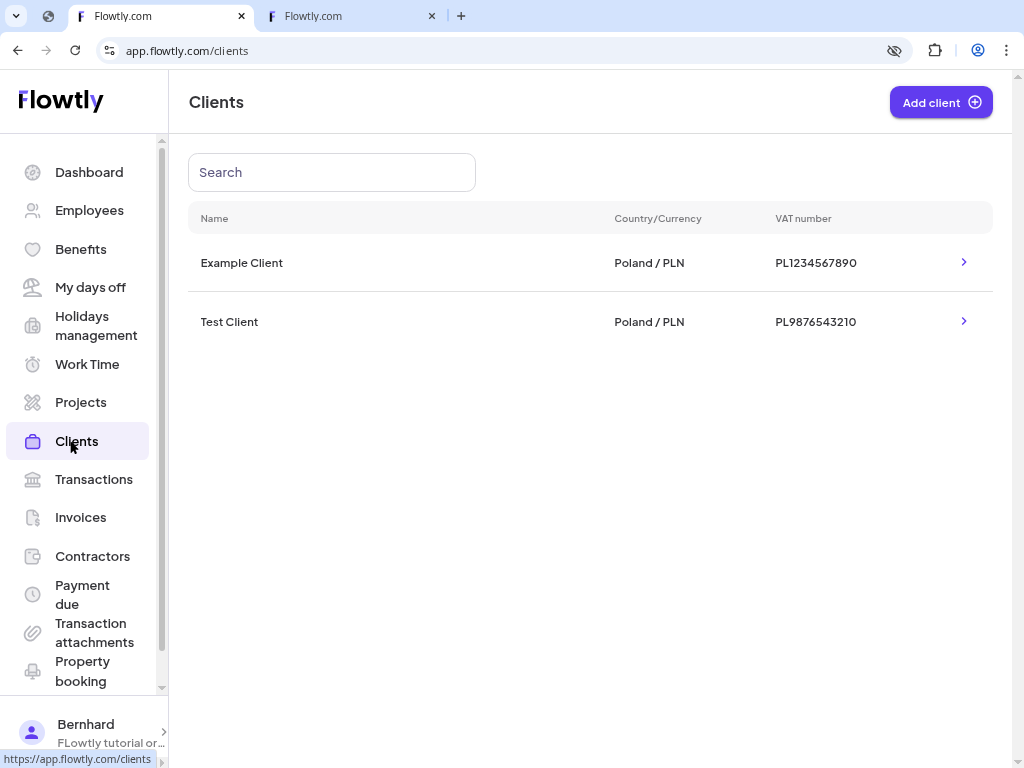
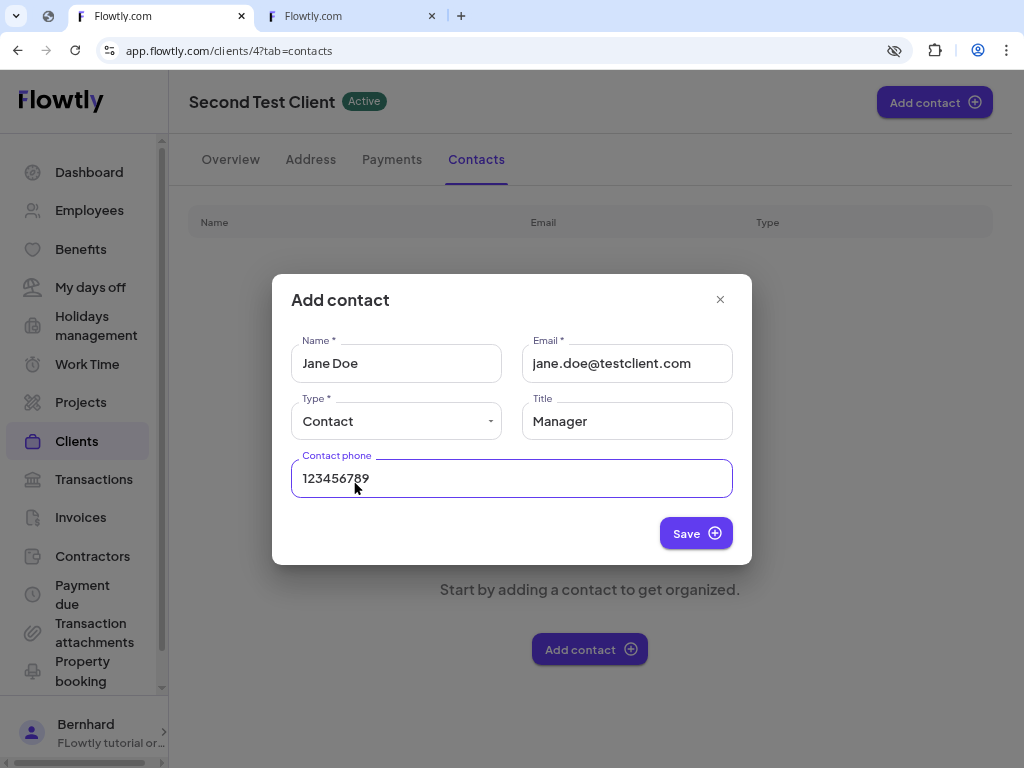
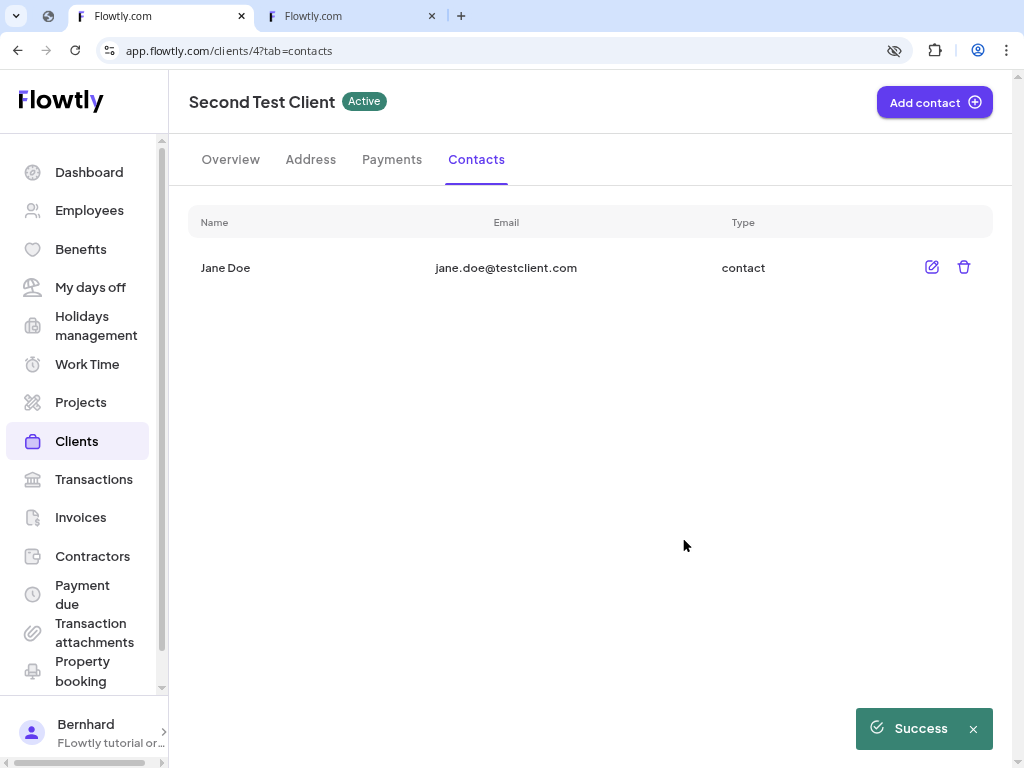
Open Clients and start the form

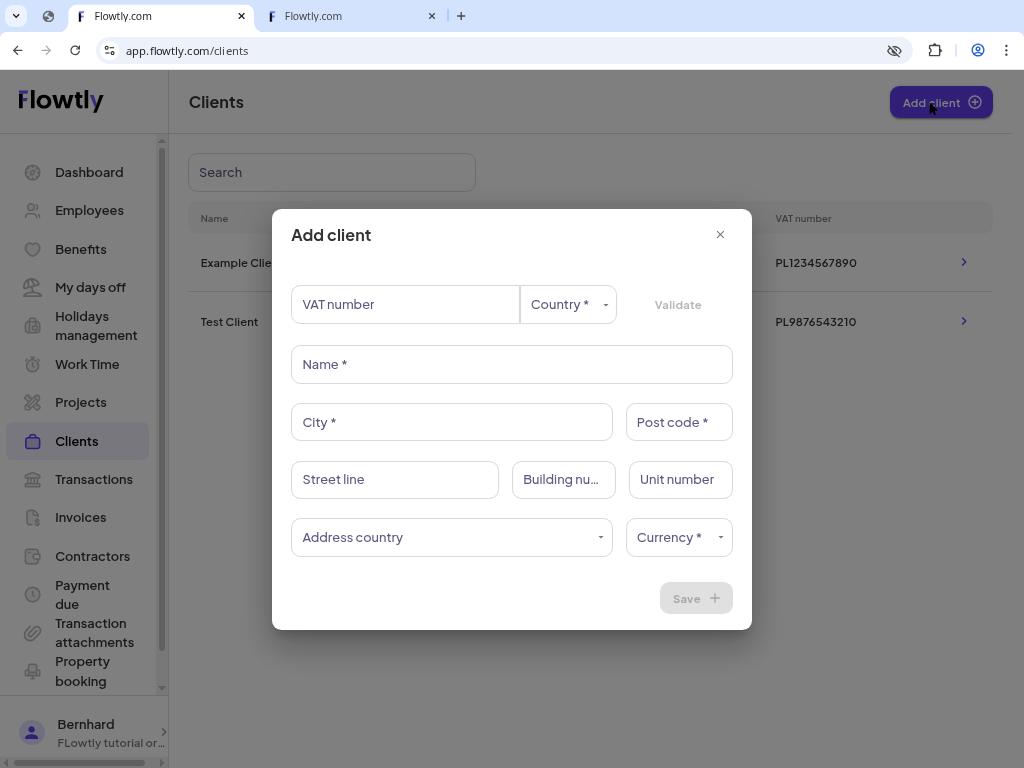
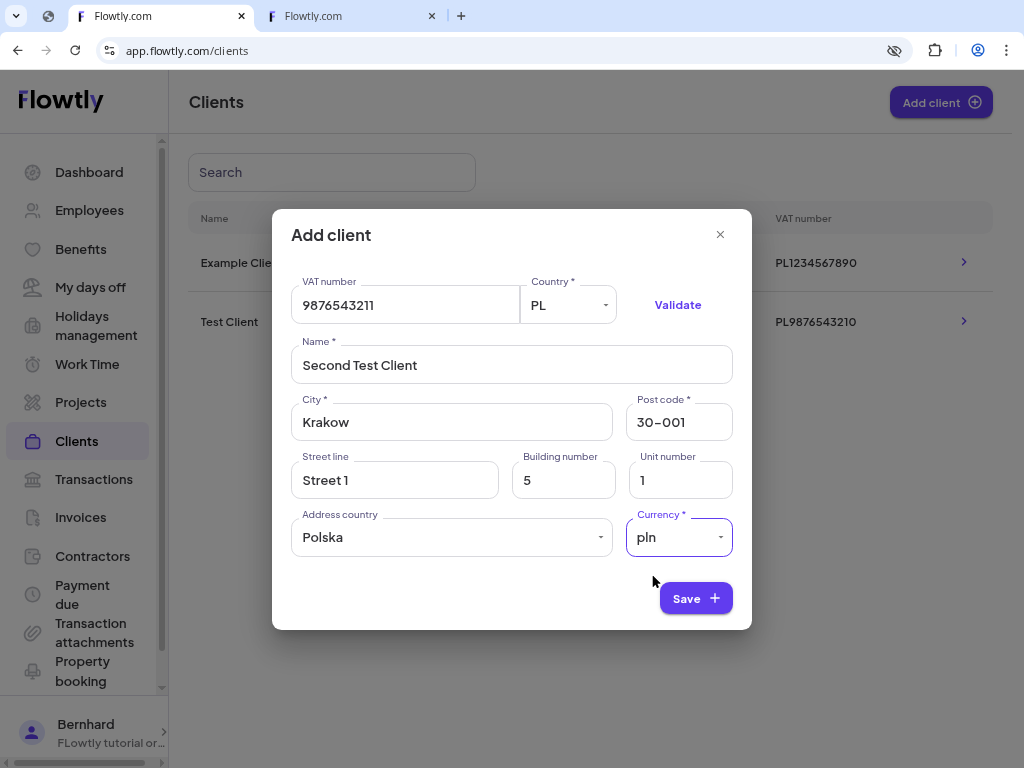
Use the left navigation to open Clients and click “Add client”. The creation form appears in a side panel.

Tips
  • If you import data from another system, start with the clients you invoice most frequently.
Clients list with the Add client button visible
Step 2

Enter core client data

Provide the VAT number, country, company name, city, postal code and optional address lines. Choose the default currency used on invoices, then click “Save”.

Tips
  • Keep the address consistent with tax documents to avoid rejections from accounting.
Add client form with VAT, address and currency fields
Step 3

Review the overview page

After saving you land on the new client overview. Check the summary panel to confirm the information looks correct.

Tips
  • Use the quick actions on this page to jump directly into invoices or contacts.
Client overview screen highlighting company details
Step 4

Navigate to Contacts and add one

Open the Contacts tab within the client profile and click “Add contact” to store the first person linked to this account.

Tips
  • Create at least one billing contact so delivery emails always reach someone.
Contacts tab with the Add contact call to action
Step 5

Fill out contact information

Specify the contact’s name, email, optional phone and role (Contact, Billing or Debt collection). Click “Save” when you are finished.

Tips
  • Assign separate contacts for billing and collections if different people handle each area.
Add contact form with fields for name, email and type
Step 6

Confirm the contact exists

The Contacts list now shows the newly added person with their email and type, proving the setup is complete.

Tips
  • You can add multiple contacts; Flowtly will let you choose who receives each invoice.
Client contacts list displaying the new entry

You’re finished!

Your client profile now includes contact information, so future invoices and reminders have everything they need.

More tutorials

Whatsapp