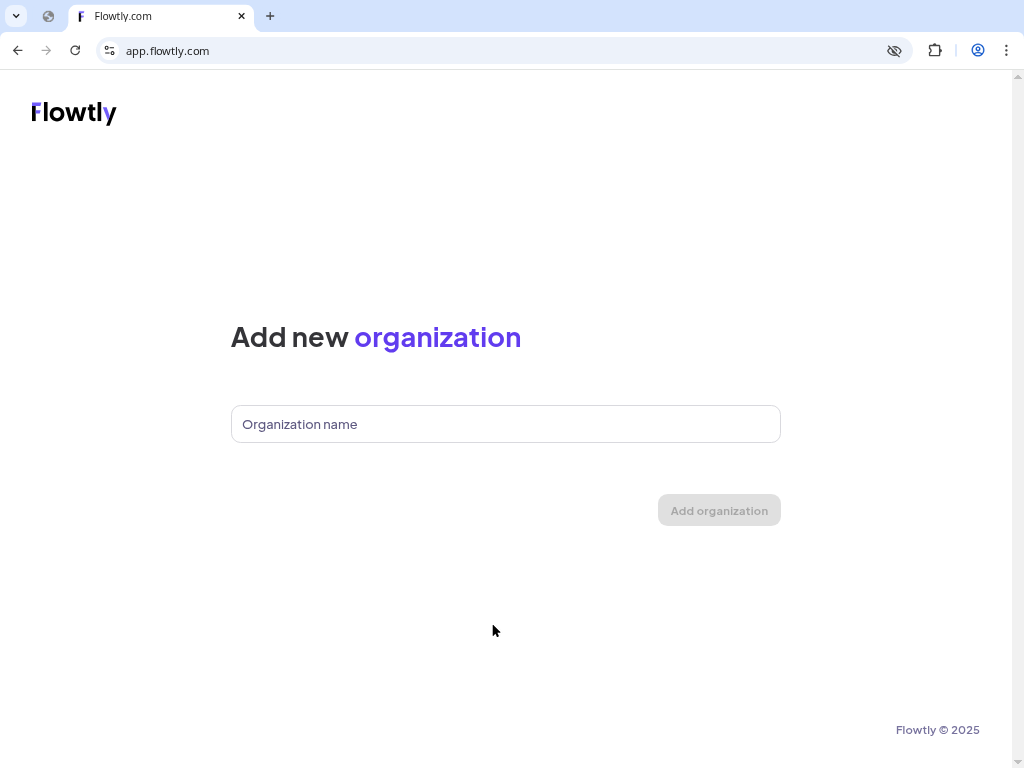
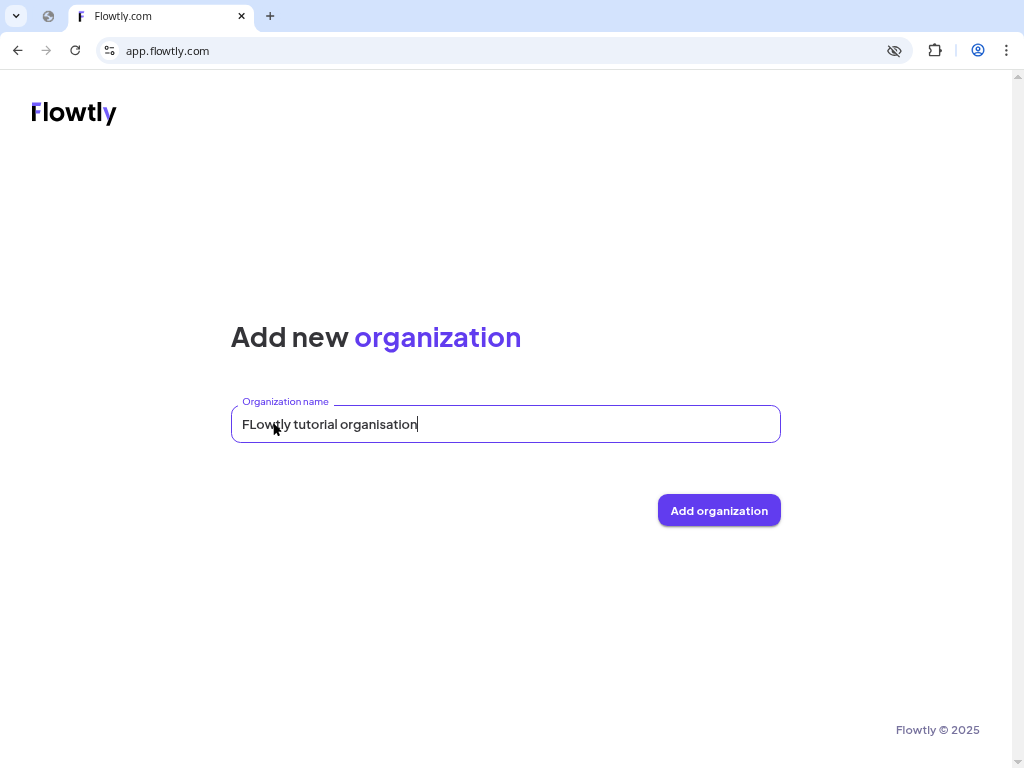
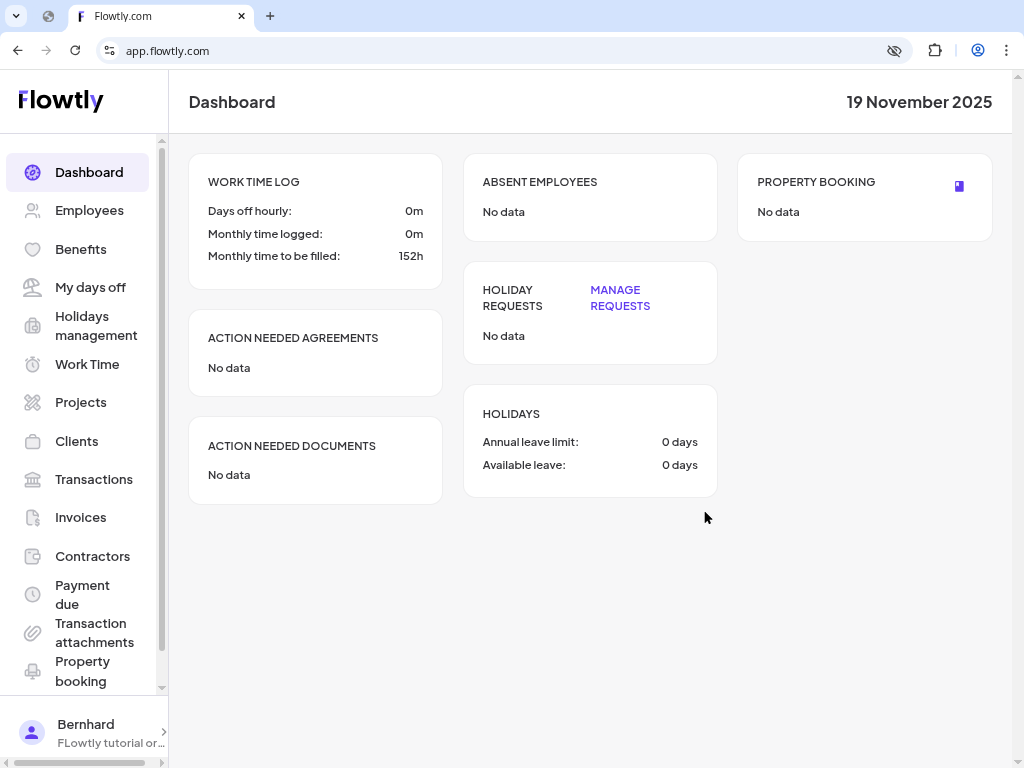
Getting started

Create an Organization in Flowtly

Use this guided walkthrough to go from registering your Flowtly account to launching your very first organization.

Duration
6 minutes
Level
Beginner
Flowtly sign up form open in a browser window

Before you start

Whether you are evaluating Flowtly or inviting your team, you start by creating an organization. This tutorial covers the complete path: signing up, activating your account, and naming the workspace that will host your data.

You only need an email address and a few details to finish. Screenshots below were captured in the production app so that you can follow along confidently.

Step-by-step

Complete the flow

7 steps
Step 1

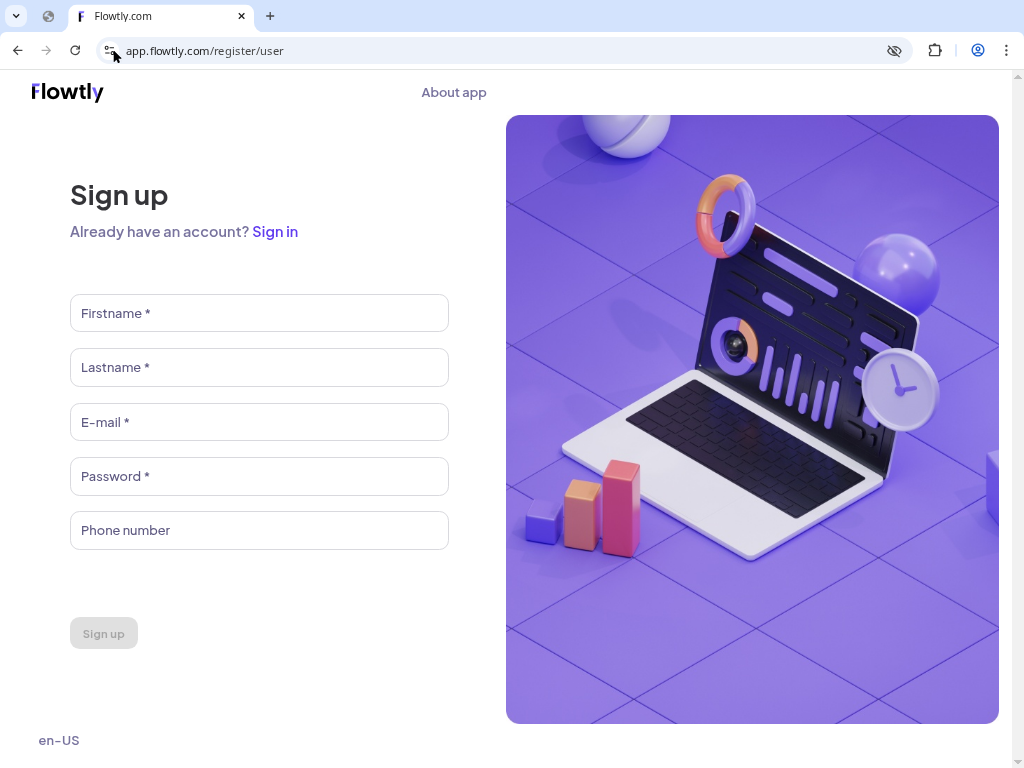
Open the Flowtly registration page

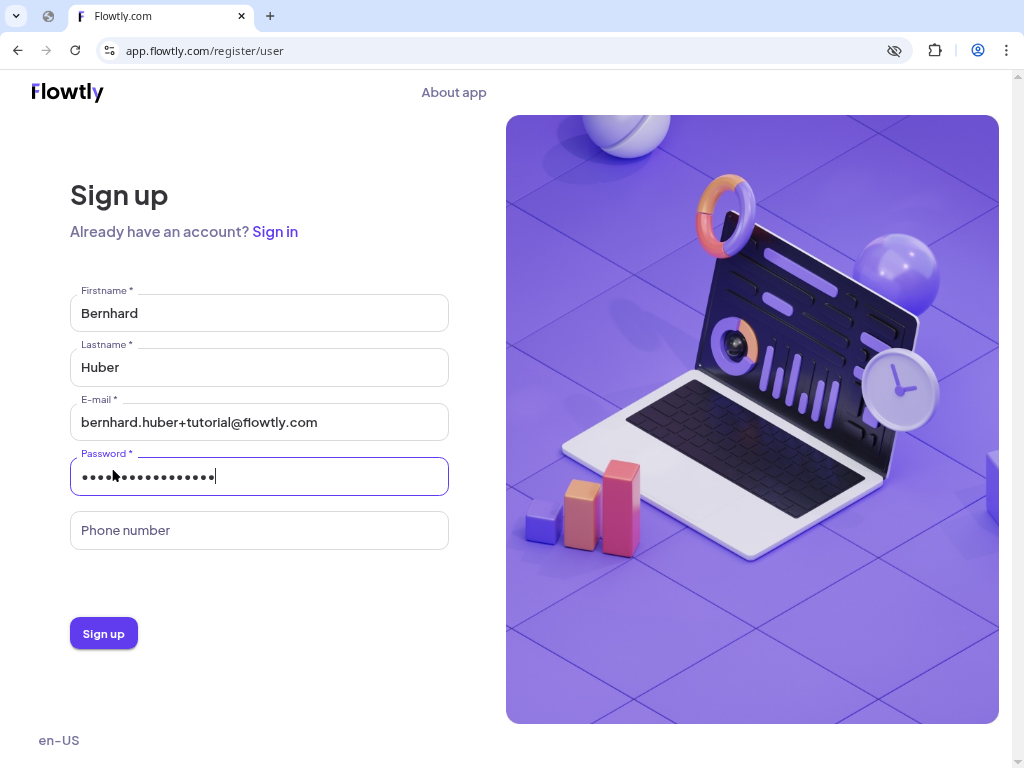
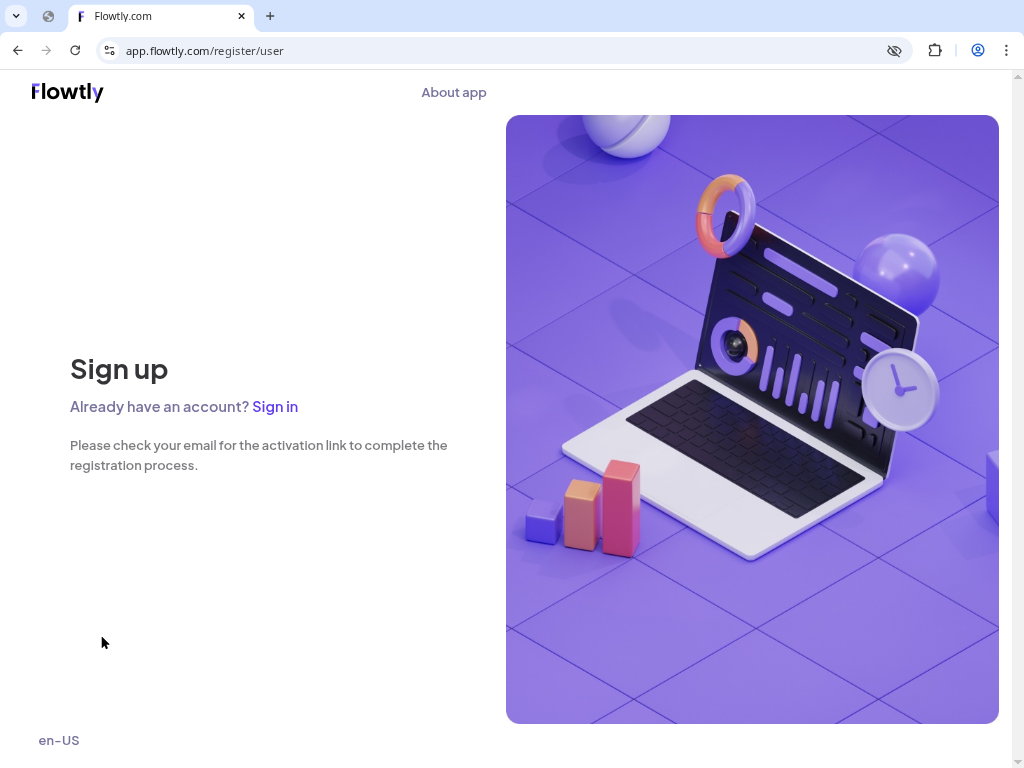
Visit app.flowtly.com/register/user. The form asks for your first name, last name, email and a password. This is the same form people use in production, so the flow will feel familiar later.

Tips
  • Use a business email address if you plan to invite teammates later.
  • Passwords need at least eight characters, one number and one special character.
Registration form with fields for name, email and password
Step 2

Create your Flowtly login

Complete each input, optionally including your phone number, and click “Sign up”. Flowtly immediately validates the password strength and highlights any missing details.

Tips
  • The success banner reminds you to open the activation email before trying to log in.
User completing the Flowtly sign up form
Confirmation message prompting the user to check their inbox
Step 3

Activate your account from the email

Open the message titled “Activate your Flowtly account” and click the button inside. You will land on a confirmation page showing that the account is ready and offering a shortcut to the login screen.

Tips
  • Did not receive the email? Check the spam folder or request another message from the sign up screen.
Flowtly activation success page with a button to go to the login page
Step 4

Sign in and choose to create a new organization

Return to app.flowtly.com, enter the same email and password, then click “Sign in”. First-time users see a blank state that clearly highlights the “Create new organization” button.

Tips
  • You can create multiple organizations later; the first one usually becomes your production workspace.
Step 5

Launch the organization wizard

Select “Create new organization” to open a short wizard. Flowtly only needs the organization name at this stage, so you can focus on naming conventions instead of filling a long form.

Tips
  • Pick a name that helps teammates recognize the workspace, such as “Acme Finance” or “Flowtly Demo”.
Flowtly welcome screen with a Create new organization button
Organization creation modal asking for a name
Step 6

Provide the organization name

Type the name, review the preview state, and click “Add organization”. The button stays disabled until the input contains at least one character, which prevents accidental submissions.

Tips
  • Flowtly automatically generates a workspace ID from this field, so keep it short and readable.
Filled organization name form with an enabled Add organization button
Step 7

Confirm you are on the dashboard

After a short loading state you are redirected to the dashboard with navigation items for Employees, Projects, Clients and more. Your organization is now live and ready for onboarding.

Tips
  • Bookmark the dashboard URL and invite colleagues from the Employees section as a next step.

You’re finished!

You have created the foundation of your Flowtly workspace. Continue by inviting users and connecting the first bank account so you can issue invoices or capture expenses right away.

More tutorials

Whatsapp